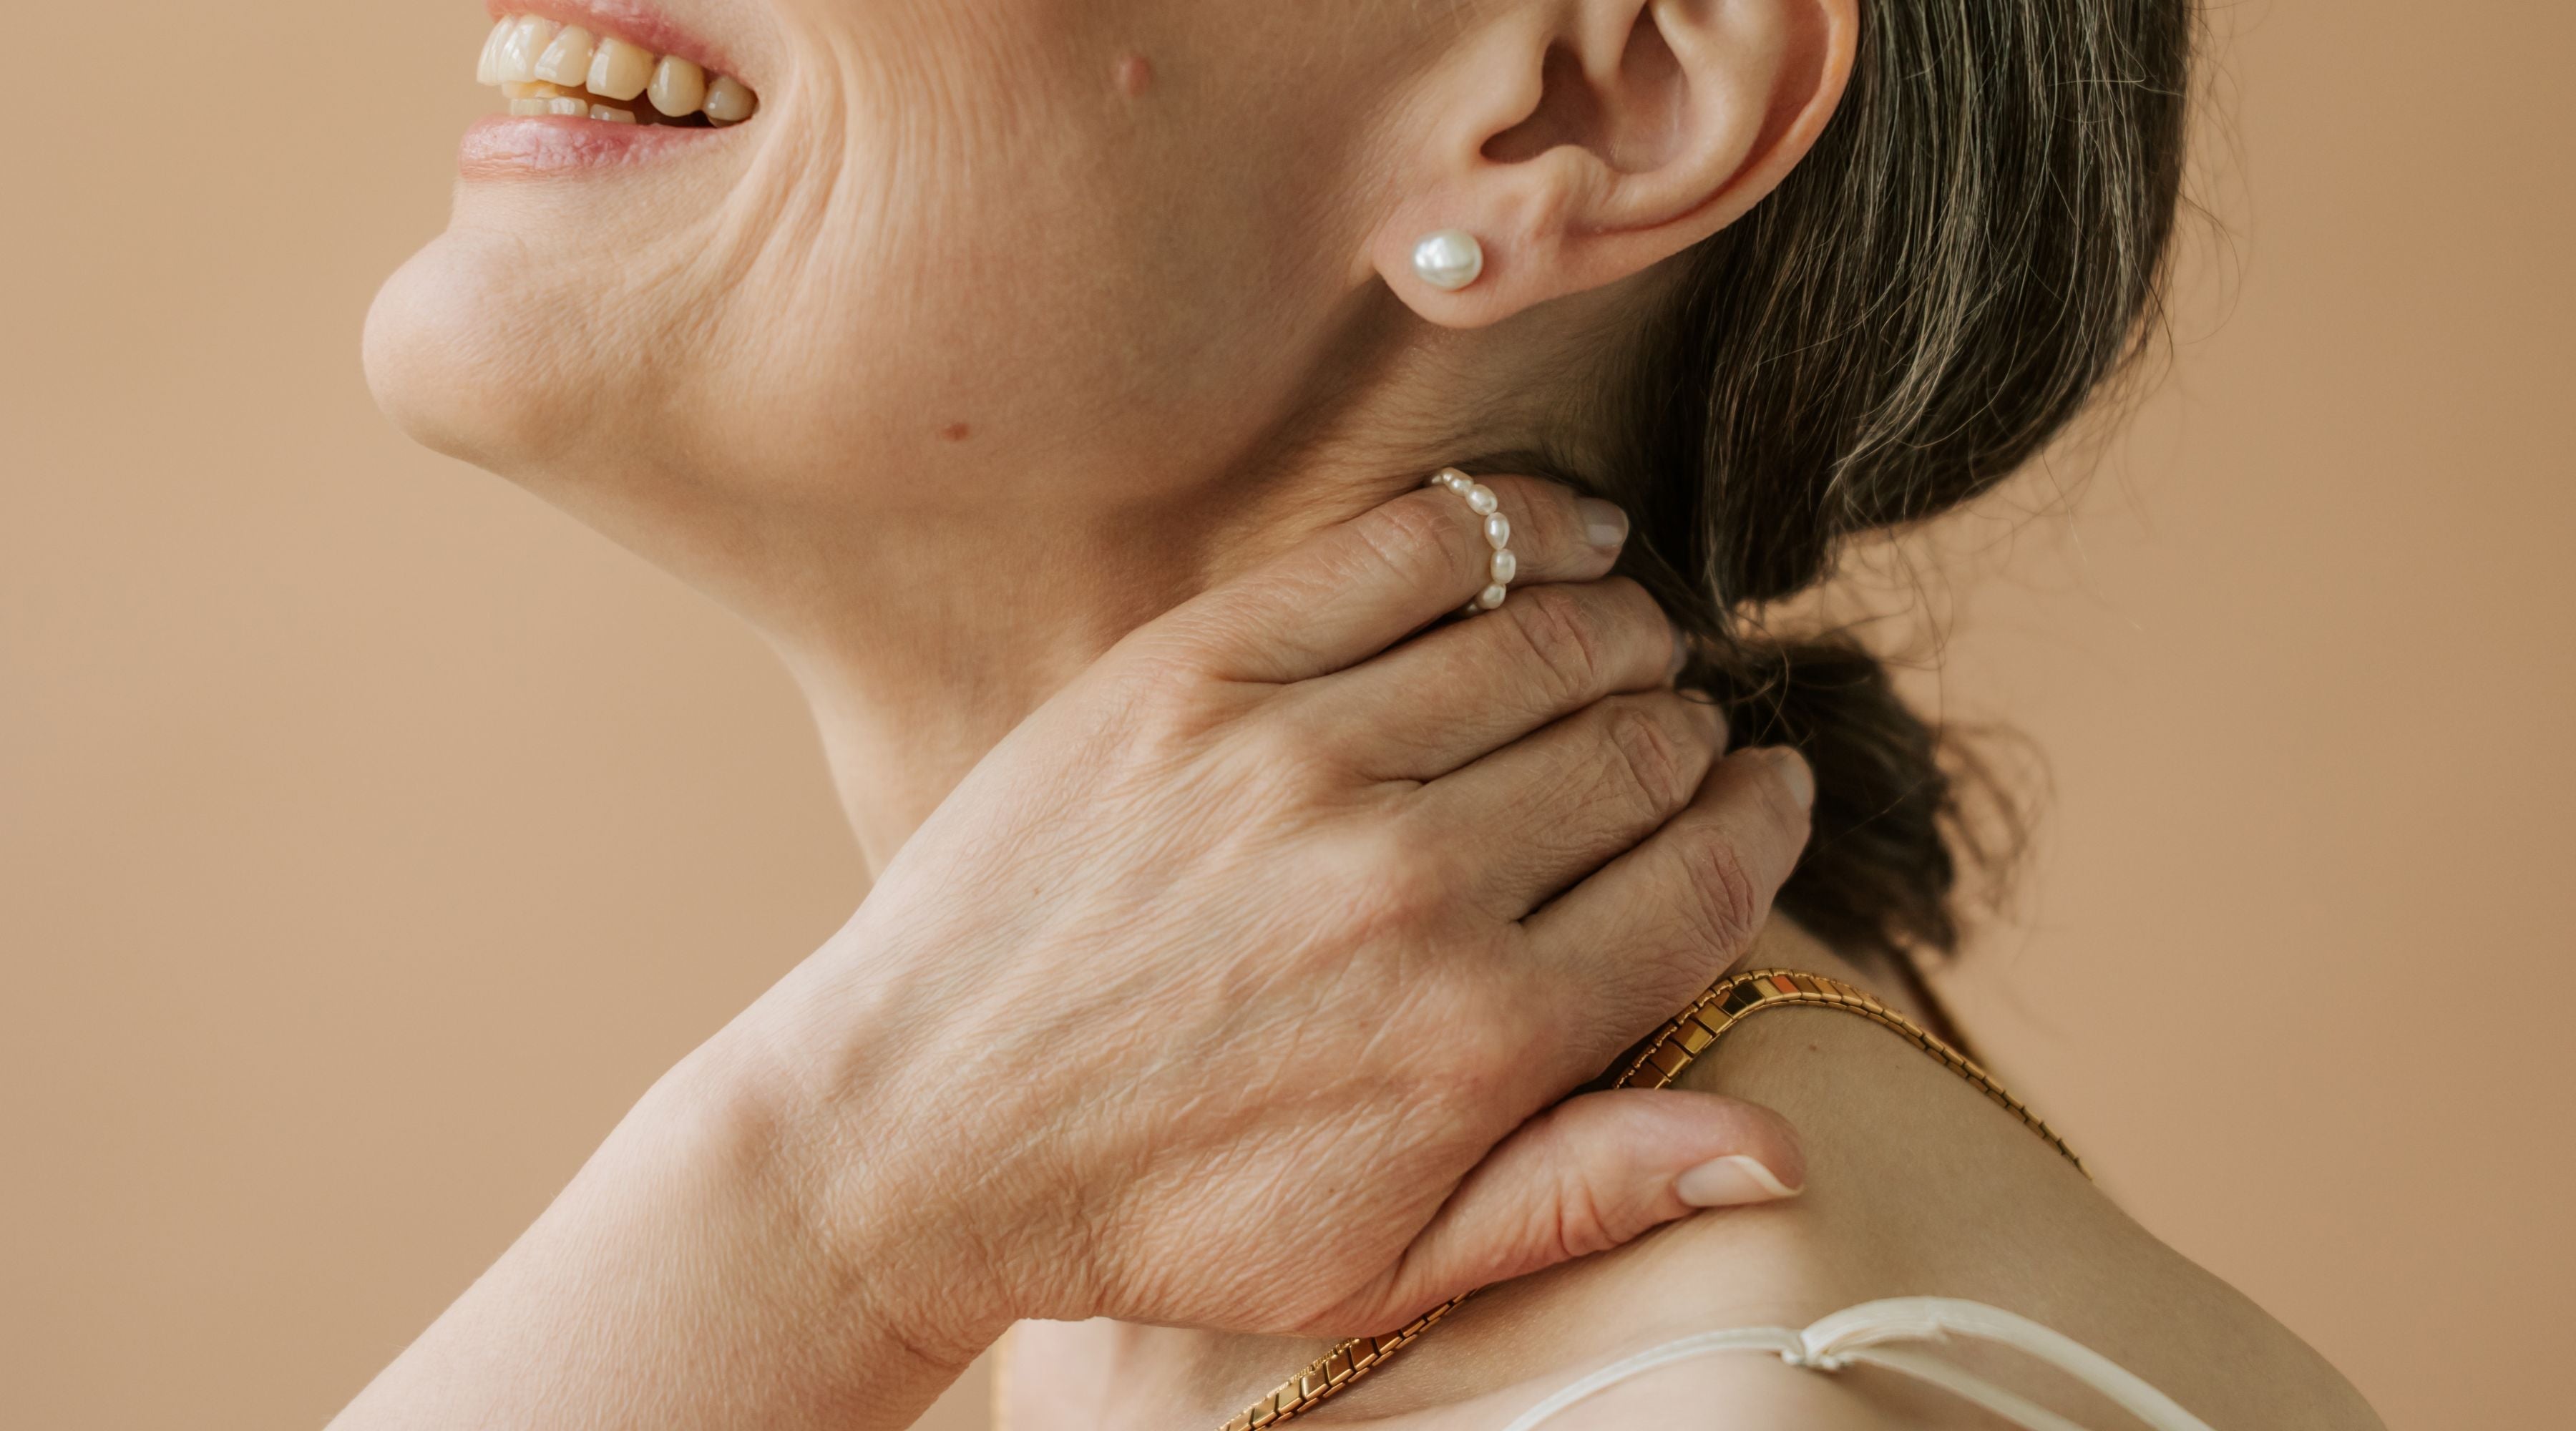
Facial Gua Sha Treatment
Let's talk about Gua Sha!
You may have heard of this ancient Asian technique that is ever so popular now.
But, have you tried it yet?
This may be a little bit different than what we usually do, but I really wanted to share this with you because I've been doing it and I've been loving it!
In this post, you'll learn:
- What is Gua Sha?
- Why is it important to Gua Sha? What are its benefits?
- How to Gua Sha?
What is Gua Sha?
Gua Sha is a beauty tool that has been around for a very long time, and it has finally hit the mainstream. I'm not sure why it took so long for us to find it, but here it is.

Why you want to Gua Sha?
There are many benefits in using this ancient technique.
With consistent use, you can improve circulation.
Your skin will de-puff.
It will help reduce inflammation.
It's very soothing and cooling.
It can release facial tension, particularly around the eyes, between the brows, and the jawline, where we usually get tense.
It can leave you with a more uplifted, brighter, healthier complexion.
Note: Use the Gua Sha consistently. It will not be effective if you don't do it regularly.
How to use the Gua Sha?
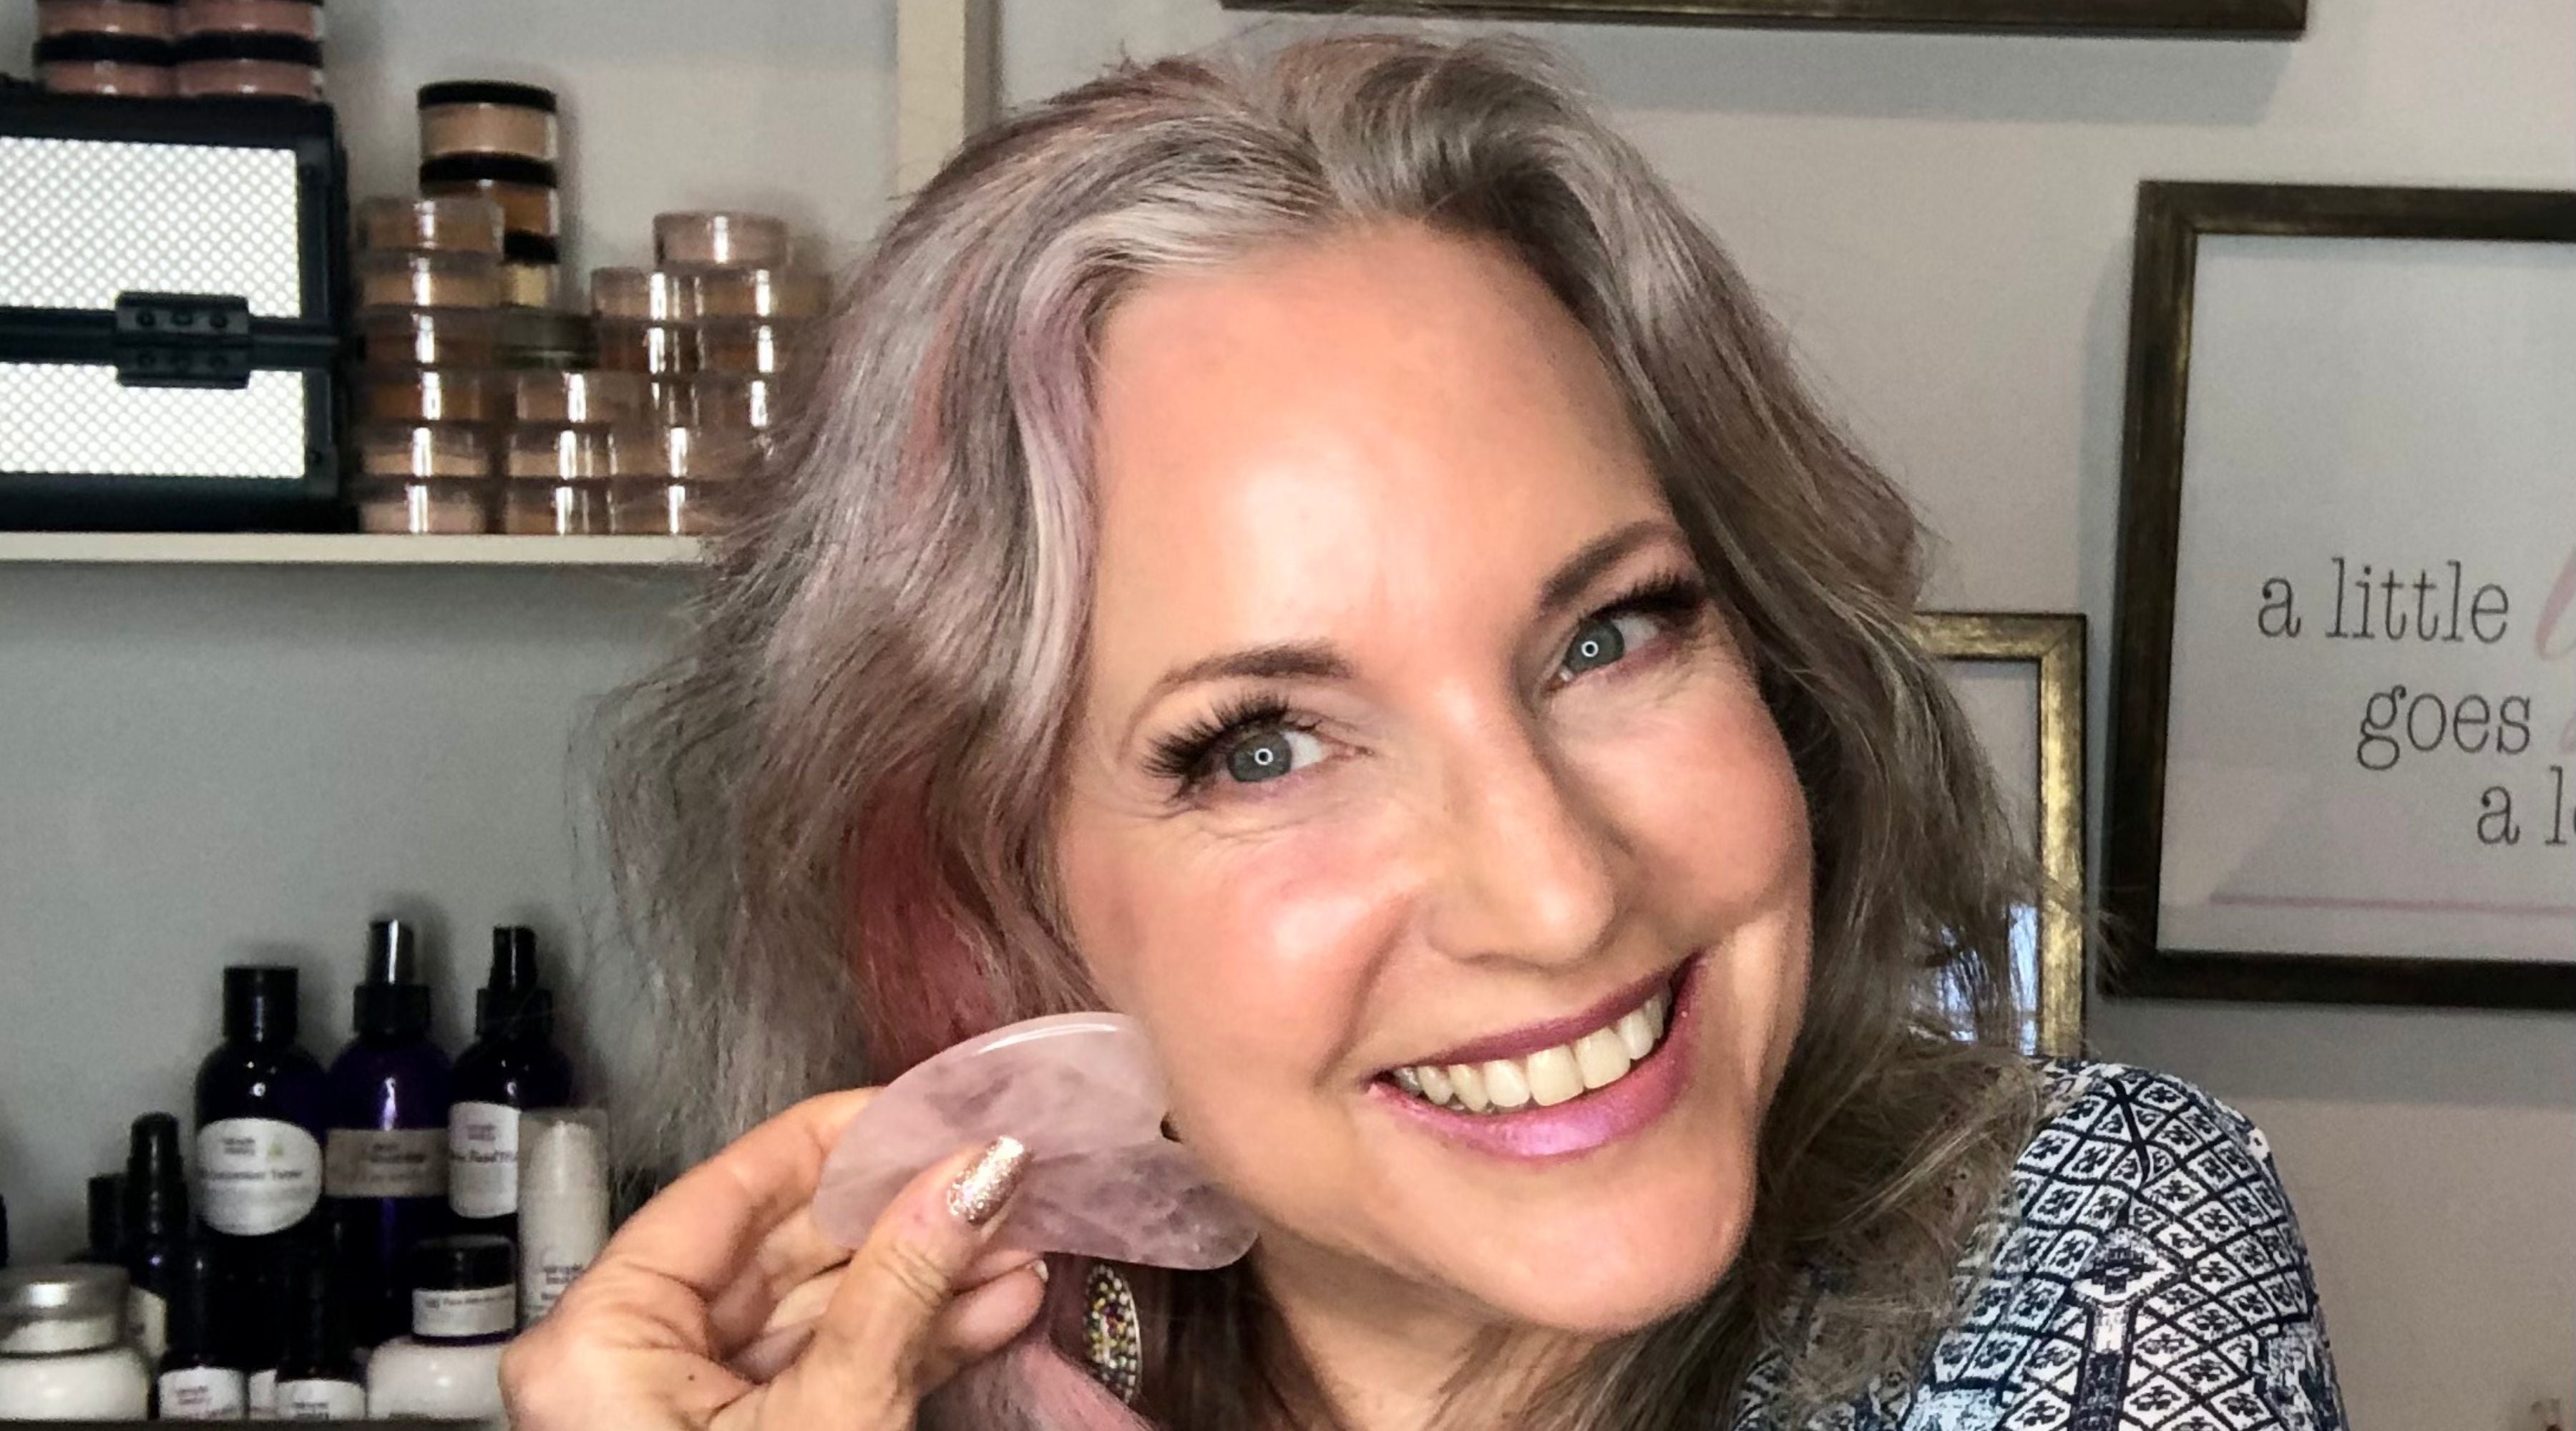
This gua sha is made of rose quartz, which has some healing abilities.
IMPORTANT NOTE:
There is a caveat to using Gua Sha if you're having any sensitivities in your skin. It's not a good time to use it if you have acne flare-up, rosacea flare-up, eczema, or any skin problems. Let your skin settle and calm down first and then restart again. It will help to keep your skin calmer with consistent use.
You can find Gua Sha how to's anywhere right now. It's very popular, but I wanted to give you my take on it. But first, a few tips:
- Tip #1: To help you with consistency, make sure to keep it somewhere you can easily access while you're doing your nighttime routine. I have my Gua Sha set up by my sofa, right on my table next to it with my book and my cup of tea. When I am watching a movie or Netflix or perhaps even reading, I then do my Gua Sha.
-
Tip #2: Make sure to cleanse the Gua Sha before using. Before I use it, I keep a little towelette with some rubbing alcohol on it and just cleanse it before it touches my skin.
- Tip #3: I always pair it with my Calm Down Facial Oil. This helps protect the skin. As the Gua Sha glides across your skin, you're not pulling or dragging in any way. Calm Down actually helps stimulate cell renewal. You're getting additional benefits while you're working your Gua Sha.

Here's the step-by-step tutorial on how to use the Gua Sha.
Step 1: Prep your skin.
You want your skin cleansed before you begin this beauty ritual. What I like to do is cleanse my skin, put all my lotions and my serums on to get it fully prepped and fully done for the evening. And then come downstairs with my tea in
my book or my Netflix show, and then I can do my beauty ritual with my Gua Sha.
Take your Calm Down Facial Oil, and you're just going to press it onto your skin. You want to make sure you get your eye bone, brows, forehead, and front and back of the neck.
Step 2: Back of the neck area

We're going to start with the back of the neck using the notched edge of the stone. Make sure you're not going straight up and down and putting pressure. That can actually hurt after a while. You're going to lay it down at an angle.
I usually start right at the back of the neck, right at the spine, with the little notched edge. We're going to work it right at the base of the spine up until the hairline and give a nice pressure massage there.
Keep in mind do it five times every stroke. Work your way around the sides after you get the center of the back of the neck.
Step 3: Front of the neck

Then you're going to come around to the front. You can start at your shoulder, move upward towards the point below the ear, where you put a little pressure. Do the same to the other side.
You're going to make your way to the center of the neck, moving upward, with a little pressure point at the lower jaw.
Step 4: Jawline

If you have TMJ or you tend clench your teeth at night, like me, you're gonna love this part! Use the notched edge and glide it at the jawline.
Remember to lay it down against your skin at an angle. You want the cushion of the Calm Down Facial Oil. It's excellent for sensitive skin.
Start at the chin and glide it towards the base of the ear, ending with a little pressure there. You're going to do that five times.
Then you're going to do the same thing to the other side.
Step 5: Cheek area

Starting at the side of the nose, with the rounded or the flatter edge, lay the Gua Sha down and put a little bit of pressure at the bottom end right under the cheekbone and glide it all the way to the side of the face. Remember to work out any knots that are in your face that feel a little bit wonky. Work them out a little bit five times, and then do the other side of the face.
Step 6: Under the eyes

This helps de-puff the eye and moves circulation around. Use the flatter edge of the Gua Sha and we're going to work with the rounded curve. We're going to go under the eye point. Do not drag. Make sure you have enough facial oil on so that the stone glides.
Move it under the eyes all the way to the temple area and add in a little pressure. Do that five times.
Step 7: Brow bone

Make sure you still have enough of your facial oil on. Reapply if needed.
For the brow bone area, take the notched edge and put it against your brow. Lay it down at an angle along the brow bone and again apply pressure at the temple area.
Step 8: Between the brow

Take the notched edge at the "elevenses," the area where we get those the two lines between the brows. Give it some pressure there and glide the stone up and down the area.
Step 9: Forehead area

Take our straight edge of the stone, laying it down, going a little bit below the the elevenses, and go on the bridge of the nose up to the forehead. Do that five times and then work your way to the sides of the forehead, adding a little pressure at the hairline.
And that's it!
Reminder to do it consistently, and you'll feel the full benefits of this centuries-old technique!
Shop this Post
|
 |

|
| White Jade Gua Sha Facial Tool | Calm Down Facial Oil |
Watch on YouTube:
JOIN OUR COMMUNITY
Join the SBM Customer Care community on Facebook, a group of friendly customers who are there to learn about the brand, clean beauty and easy well-aging beauty. Click here to request to join!
SHOP MY CURATED FAVES
Our Amazon Shop for tried and true highly recommended products: SBM AMAZON SHOP
SUBSCRIBE TO THE PODCAST
Beauty and Style podcast for woman over 50: LIVING VISIBLY OVER 50 PODCAST
**DISCLOSURE: Hey beautiful! I may be an affiliate for some of the products that I recommend on the Simple Beauty Blog. If you purchase those items through my links, I will earn a small commission. You will NEVER pay more when buying a product through my link. Plus, when you order through my link, it helps support the Simple Beauty Blog, so I can continue to offer you lots of great free information.